Today, I woke up thinking about how beige my bathroom has been for years, how the light hits the walls and makes everything feel flat, and how I keep doing the same routine in a room that never gives anything back.
It’s a small bathroom, the kind where you can touch the sink and the towel bar without taking a step, and because it’s small I always told myself it wasn’t worth decorating, like small rooms don’t deserve effort.
Then I started reading a few blogs about wall molding, the kind of simple panel molding that makes a plain wall look intentional, and I felt that familiar spark I get when a home idea is not just pretty but doable.
Not a renovation, not a demolition, not a month-long dust cloud. Just trim, a little planning, and a room that looks like someone cares about it.
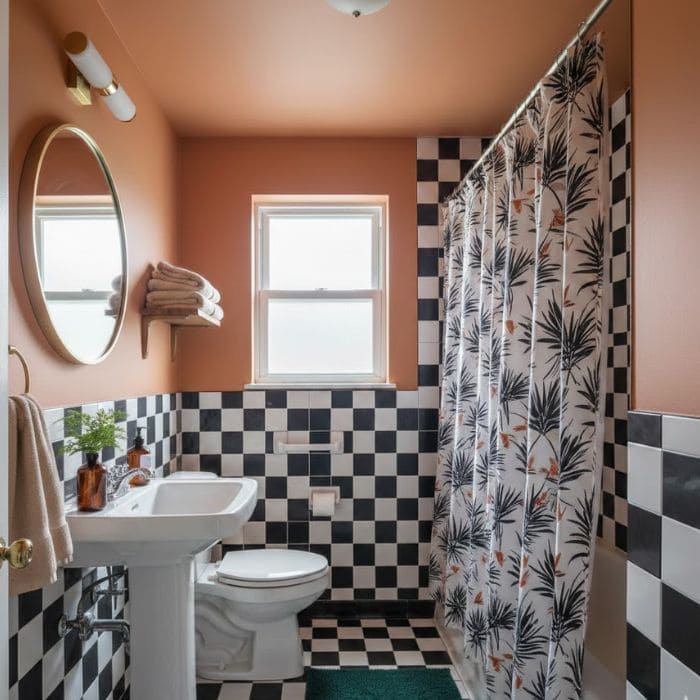
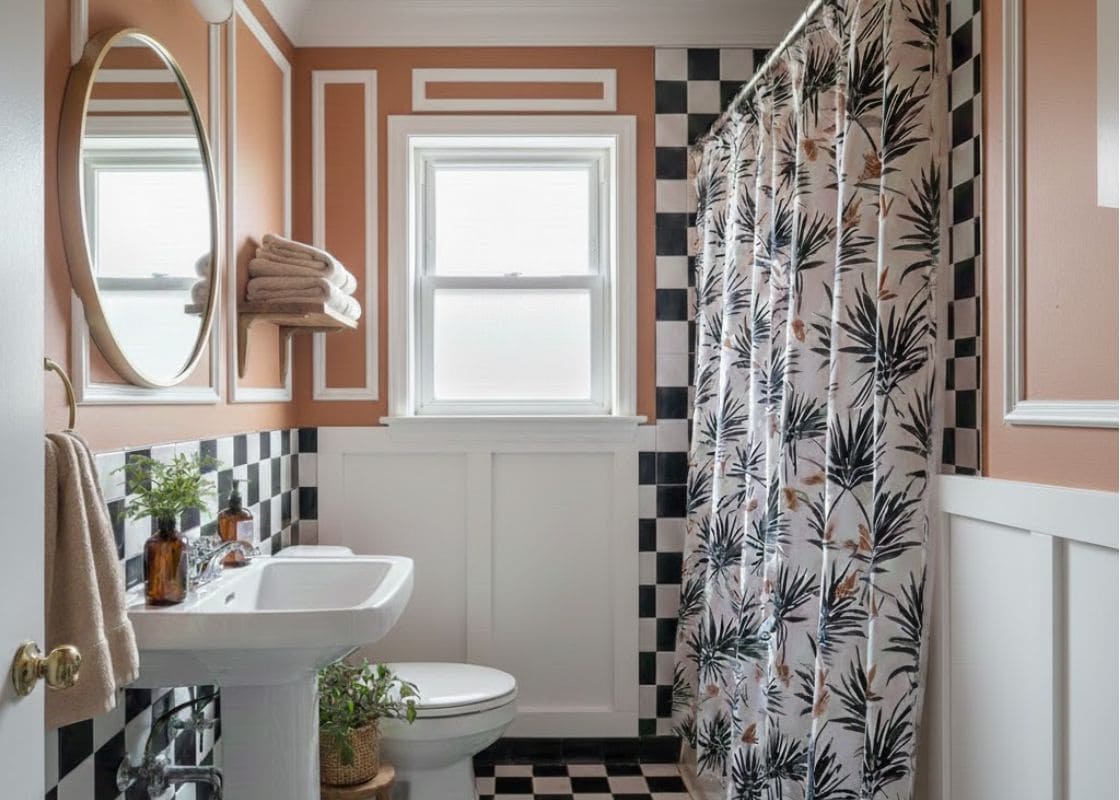
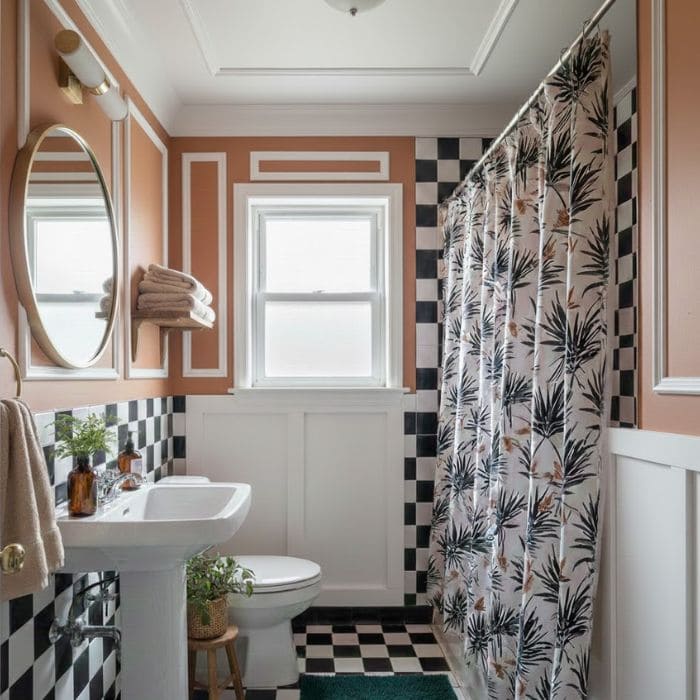
My bathroom is beige, the tile is black and white, and that combination has always made me feel like I’m living inside a neutral argument. The tile has personality, the walls do not, and the room has been begging for something to pull it together.
So today I decided I was done waiting for the perfect time, and I added wall molding in a way that works in a small space and respects the existing tile.
What I Wanted the Molding to Do in This Tiny Room
My goal was not to make the bathroom feel fancier. My goal was to make it feel calmer and more finished, the way a tucked-in bed looks calmer than a messy one, even if the sheets are the same. Wall molding does that for me.
It gives the eye structure. It makes beige walls feel like a choice instead of a default. It also helps the black-and-white tile look more classic and less harsh, because the room finally has a middle layer that softens the contrast.
I also knew I needed to keep it simple, because small bathrooms can start to feel crowded fast.
Too many panels, too much trim, too much visual noise, and suddenly you feel like the walls are closing in. So I chose a clean, traditional panel layout, with fewer boxes and wider spacing.
My Bathroom Size and the Measurements I Used
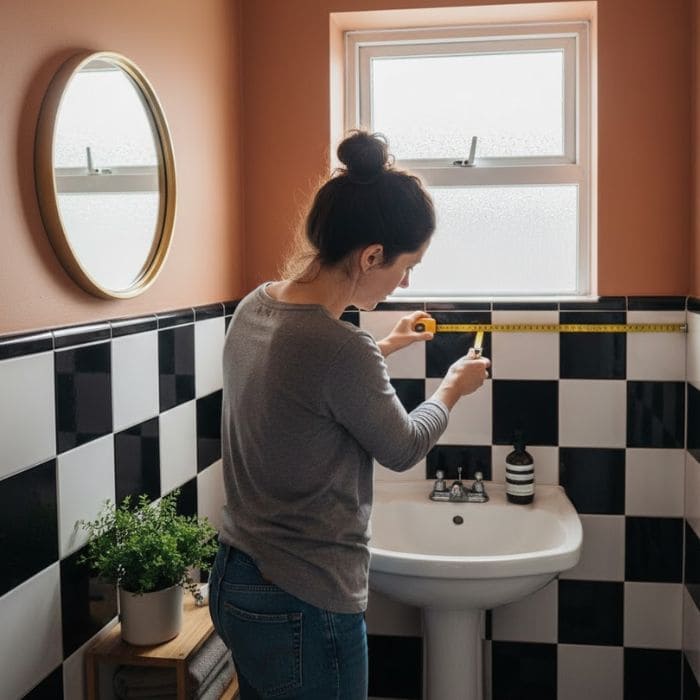
To make this practical, I’m sharing real numbers. My bathroom is small, roughly 5 ft by 8 ft, so about 40 square feet of floor space.
The ceiling is 8 ft high. The black-and-white tile runs around the wet areas, and the rest is painted drywall in a warm beige tone that looked fine on day one and looked tired by year three.
For the molding height, I went with a classic wainscoting-style proportion, but I adjusted it slightly to work with the tile.
- Finished molding height: 42 inches from the floor to the top rail
- Gap above baseboard: the molding starts right above the baseboard, with a neat caulk line to blend it
- Distance from tile edge: I kept the molding on the painted drywall zones, and stopped it cleanly before the tiled wet area so it doesn’t look like trim is trying to compete with tile
Why 42 inches? In a small bathroom, it’s high enough to feel intentional, but low enough that it doesn’t chop the room in half.
It also lands at a nice visual level behind the toilet and near the vanity without looking like a random stripe.
The trim sizes I used (simple and easy to find)
I kept the trim sizes beginner-friendly and affordable.
- Top rail and bottom rail: 1×4 (actual width about 3.5 inches)
- Vertical stiles: 1×3 (actual width about 2.5 inches)
- Optional cap rail: I skipped a bulky cap because the bathroom is small, but you can add a 1×2 or a small chair rail if you want more dimension
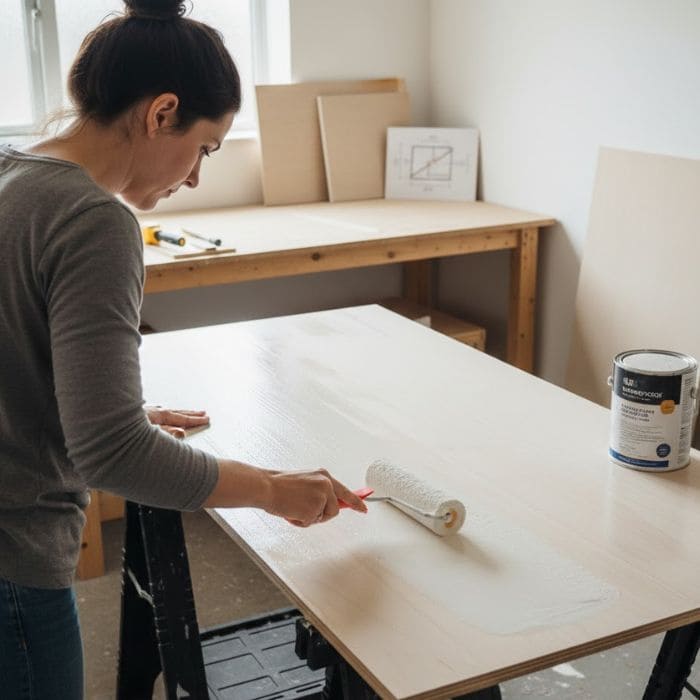
I used primed MDF for most of it because it paints beautifully and stays smooth, but in bathrooms, moisture matters. If your bathroom gets steamy often and ventilation is weak, PVC trim is a smarter long-term choice.
My bathroom has a decent fan, and I keep the door cracked after showers, so I felt comfortable using primed MDF on the dry walls, then sealing everything with good primer and paint.
Planning the Layout Without Overthinking It
This is the part that makes or breaks the look, and it’s also the part most people rush because it feels like paperwork. I did not skip it, because once trim is on the wall, your mistakes become permanent decoration.
Here’s the layout I chose: larger rectangles, fewer panels.
- Panel height (inside the frame): about 28 inches
- Panel width: I aimed for 14 to 18 inches per box on the long wall, and slightly narrower on tighter sections
- Spacing between boxes: about 3 inches from stile to stile, which kept it from looking cramped
My simplest planning trick
I made what I call a story stick, which is basically a scrap piece of wood with marks on it.
I marked my key heights on it, 42 inches for the top rail, and the height where I wanted the bottom rail to land above the baseboard. This saved me from measuring the same thing fifty times and accidentally changing the number when I got tired.
Then I used painter’s tape on the wall to map out the rectangles before I cut a single board. Tape is forgiving but trim is not.
Materials and Tools I Actually Used
I kept the supply list realistic, and I’ll share what I used because I know how annoying it is when a tutorial forgets half the things you need.
For materials, I used primed MDF boards (1×4 and 1×3), construction adhesive rated for trim, 18-gauge brad nails, wood filler, paintable caulk, primer for touch-ups, and semi-gloss bathroom paint.
Semi-gloss matters in a bathroom because it’s easier to wipe down and it handles humidity better than flat paint.
For tools, I used a tape measure, level, pencil, stud finder, miter saw, a nail gun, and sandpaper. A nail gun makes this faster, but it can be done with finish nails and patience if needed. I also used a small caulk smoothing tool, which is not essential, but it helps the finish look clean.
Cost and Time, Because That’s the Real Question
This project feels fancy, but it’s not expensive if you keep it simple.
My rough cost breakdown looked like this:
- Trim boards: $35 to $55 (depending on MDF vs PVC and local prices)
- Adhesive and brad nails: $10 to $15
- Caulk and wood filler: $8 to $12
- Primer and paint: $0 to $35 (I already had paint, which is the only reason this stayed very budget-friendly)
All in, I spent around $55 for my bathroom because I already owned the paint and primer.
Time-wise, I did it in one long day plus a second shorter day for paint touch-ups and slow drying.
If you want it to feel less intense, it’s a perfect two-weekend project: one weekend for planning and installing, one weekend for filling, caulking, and painting.
The Step-by-Step Process I Followed
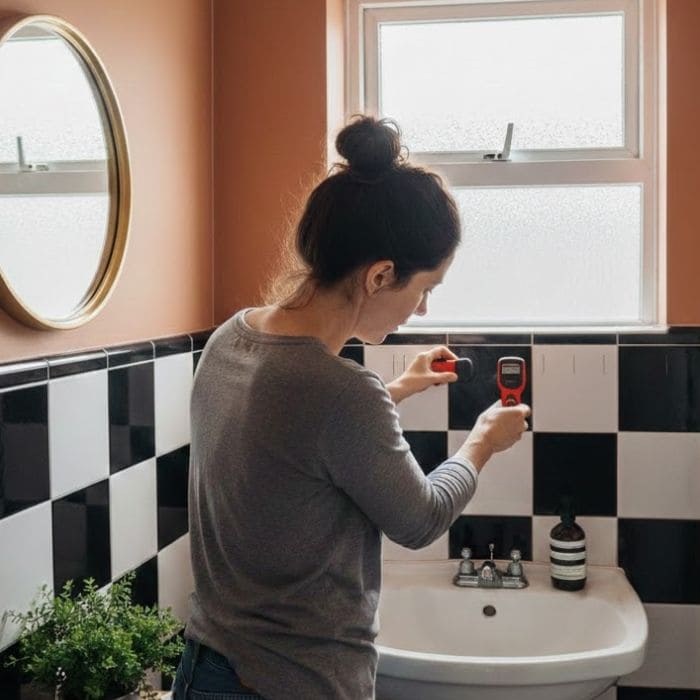
Firstly, I marked 42 inches from the floor in multiple spots around the bathroom and used a level to connect the marks into a clean guideline.
Bathrooms are full of corners that are not as square as they look, so I trusted the level, not the house.
Next, I used a stud finder and marked studs lightly in pencil. The adhesive helps, but hitting studs with nails makes the molding feel solid, especially in a room that gets humidity and temperature changes.
I installed the 1×4 top rail first, then the bottom rail, keeping it aligned above the baseboard. I used a thin bead of adhesive on the back, pressed it into place, then nailed into studs where possible.
This is where the rectangles come alive. I cut the 1×3 stiles to fit between the rails, then installed them based on my tape layout.
On the longest wall, I kept the rectangles consistent so the room looked calm, not busy. On the smaller sections, I adjusted panel widths slightly so it looked balanced rather than forcing perfect symmetry that didn’t match the space.
For corners, I used simple butt joints and caulked for a smooth finish. In a small bathroom, you do not need complicated joinery to make it look polished. You need straight lines and neat caulk.
The Invisible Work That Makes It Look Professional
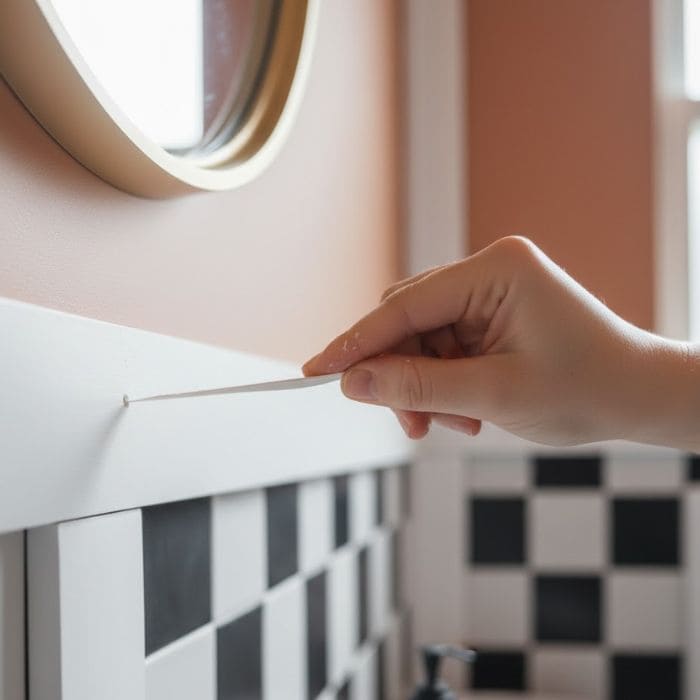
After installation, I filled nail holes with wood filler, let it dry, sanded lightly, then caulked every seam where trim met the wall.
Caulk is what makes the molding look built-in instead of stuck-on. I also caulked inside corners of the rectangles so the shadow lines looked clean, not gappy.
Then I primed any raw cut edges and touched up spots where filler showed through. Even primed MDF has cut edges that soak paint differently, so priming those edges is a quiet little step that keeps your finish from looking patchy.
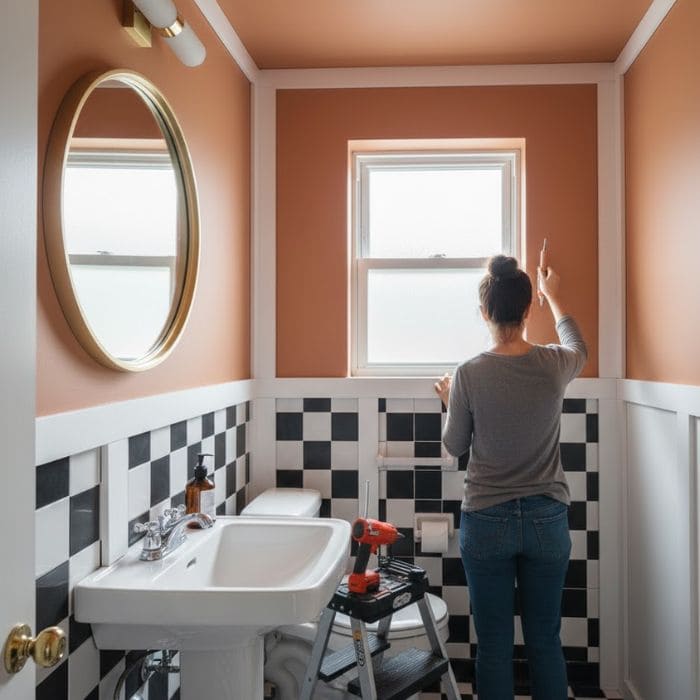
What Changed in the Room After the Molding Went Up
The bathroom didn’t get bigger, but it stopped feeling like a plain box. The walls started participating.
The beige stopped looking accidental. The black-and-white tile looked more intentional, because the molding added a traditional frame that made the whole room feel styled instead of stuck between eras.
And this is the part I didn’t expect: the room felt more cared for, which made my routines feel gentler. It’s strange how a small upgrade can change your mood, not because it’s dramatic, but because it signals attention, and attention is a form of care.