Two days ago, on Saturday, I stepped onto my front porch with my coffee and had that moment where you cannot unsee something once it starts bothering you, because the boards looked clean but still tired, like the color had been gently erased by the last few seasons.
My porch isn’t large, but it’s enough for my life, and I treat it like a small welcome mat for the whole house, partly because I keep a row of flower pots out there and partly because it’s where my Golden Retriever does his serious neighborhood inspection every morning, nose in the air as if he’s reading headlines.
Boston weather has a way of sanding things down slowly without asking permission, and the cold that day made it feel even more obvious, because the light was sharp and the wood looked pale, especially where sun and rain hit the most.
The temperature was below freezing, with a high around the mid 20s Fahrenheit, which is the kind of cold that makes wood look extra washed out and makes you feel like you should be kinder to anything that lives outside.
So I decided, not dramatically, but clearly, that I was going to stain it, because I miss the warmer tone the porch used to have, and I want the entrance to feel cared for again before another winter really digs in.
The Realistic Winter Truth About Staining in Boston
Most exterior stains have minimum temperature requirements, and a lot of them need the wood to be dry and the air to stay warm enough for the finish to cure properly, which is not something you can force in a Boston December.
For example, BEHR’s application guidance for one of their exterior stains and sealers says to apply between 40 and 90°F and to avoid staining if rain is expected soon, which made me slow down immediately because it was nowhere near that temperature when I was standing on my porch that Saturday.
So the project I started two days ago, I planned it, bought what I needed, and did the prep and testing that I can do now, then I’m waiting for the first decent mild stretch to actually stain the boards.
That might sound less satisfying than a same-day makeover, but it is the difference between a porch that looks good for one week and a porch that holds up.
Where I Bought Supplies and the Exact Stain Direction I Chose
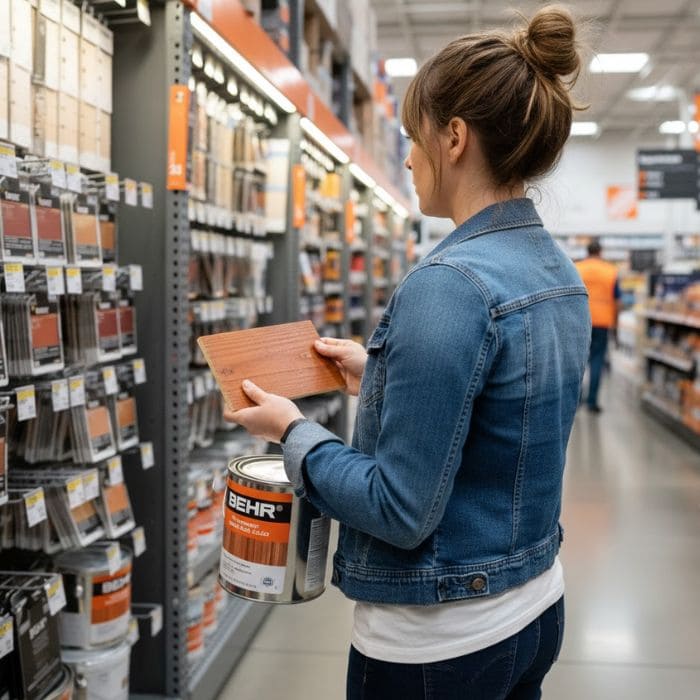
I went to The Home Depot South Bay/Boston because I wanted a place where I could see stain colors in person, compare pads and brushes without overthinking it, and leave with everything in one trip instead of dragging the project out across multiple errands.
I chose a semi-transparent exterior stain because I still want the wood grain to show, I just want the tone back and I want protection against sun and moisture, and for the color I stayed in the warm, porch-friendly family, something like a russet or warm medium brown that looks cozy next to terracotta pots and doesn’t show every speck of dust.
One of the colors I seriously considered was BEHR’s semi-transparent “Russet” (ST-117), because it reads warm without going overly dark, and it tends to look inviting from the sidewalk instead of severe.
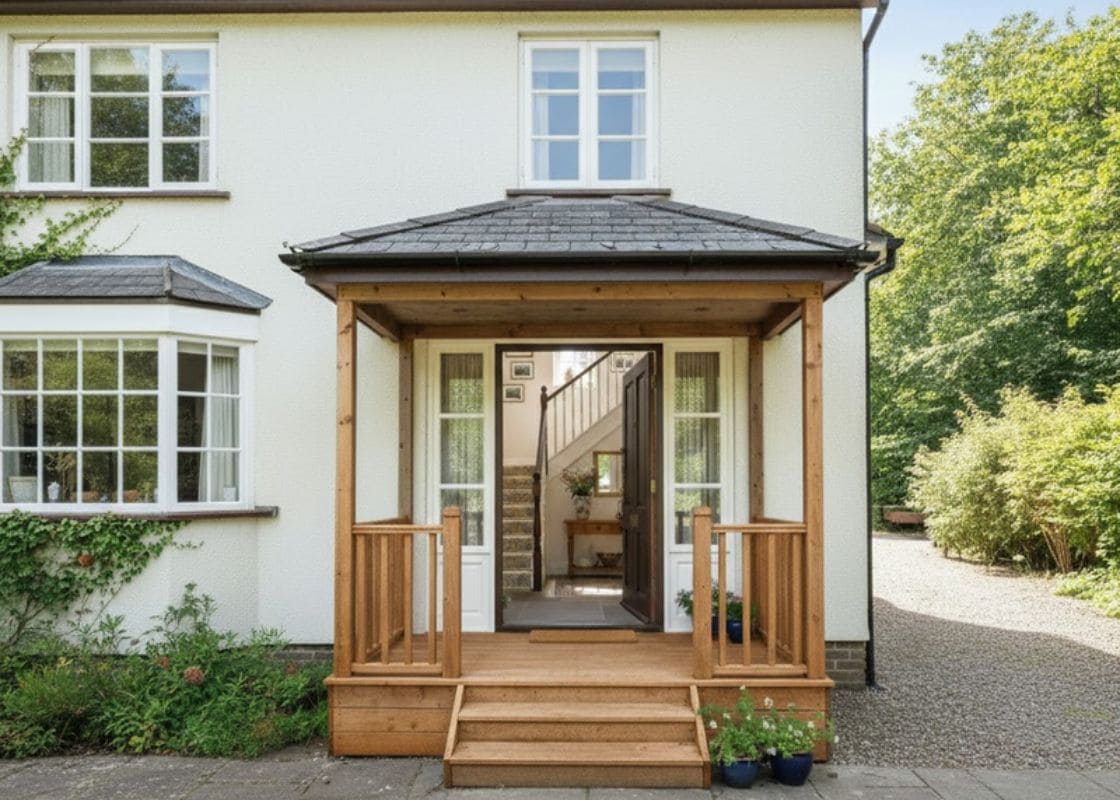
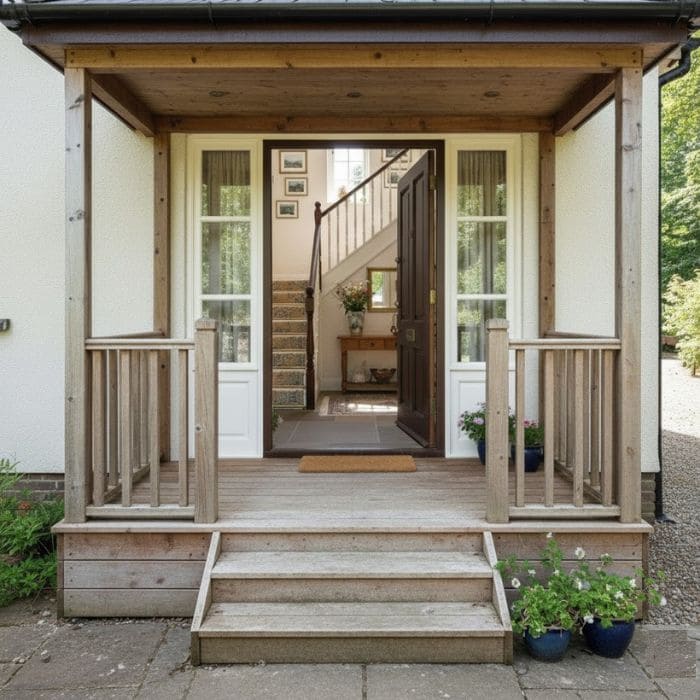
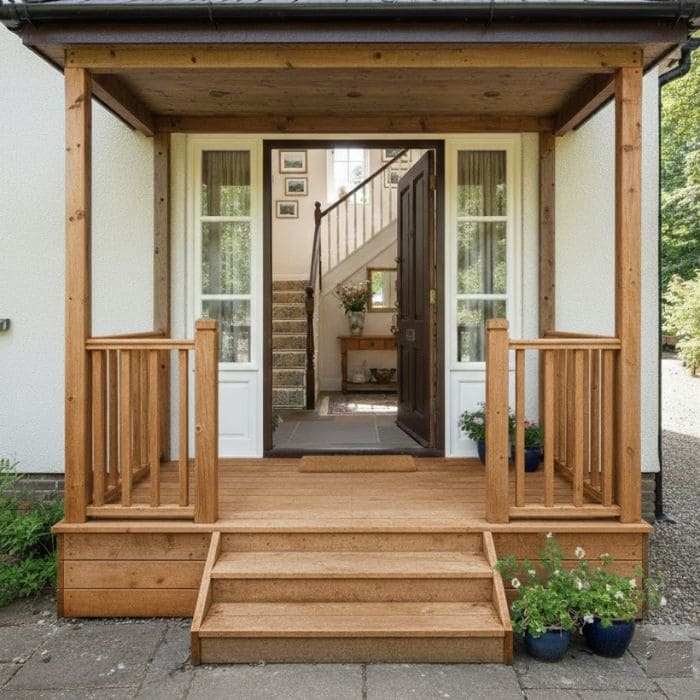
What My Porch Looks Like and Why It Faded So Unevenly
My porch is wooden, with boards running toward the steps, and it’s just wide enough that I can line pots along one side without making it feel crowded, which is exactly my favorite kind of space because it forces me to keep things simple.
The fading is worst in the places you’d expect: the main walking path, the edges where rainwater sits a little longer, and the boards that catch direct sun, and the overall effect is that the porch looks slightly gray and dry even after I sweep, like it wants moisture and protection back in the wood.
It’s still solid underfoot, so I’m not dealing with structural repairs, but visually it had started making the entry feel dull in a way I couldn’t ignore anymore.
The Prep I Did First, Because Prep Is the Whole Project
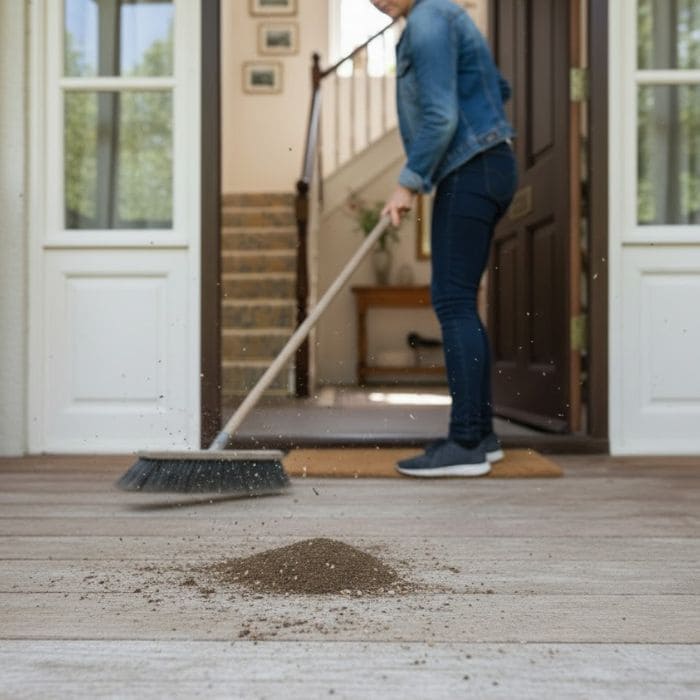
Saturday afternoon, I moved every pot off the porch, including the heavy ones I usually pretend are fine where they are, because staining around objects always leaves a visible outline later, and those outlines will haunt you every time you walk up the steps.
Then I swept slowly, not just the obvious dirt, but the grit that collects in corners and between boards, because grit becomes texture once stain hits it, and porch stain does not forgive texture you did not intend.
After sweeping, I did a quick scrub with warm water and a mild cleaner using a stiff nylon brush, then I rinsed lightly and let everything dry, because stain needs truly dry wood, not looks dry from ten feet away.
Once it was dry, I checked for rough spots and raised grain near the step edges, and I did a light sanding in those areas, because feet catch those spots and they keep getting worse if you ignore them, and sanding now means the finished porch will feel smoother and look more even.
The Test Patch That Saved Me From Guessing
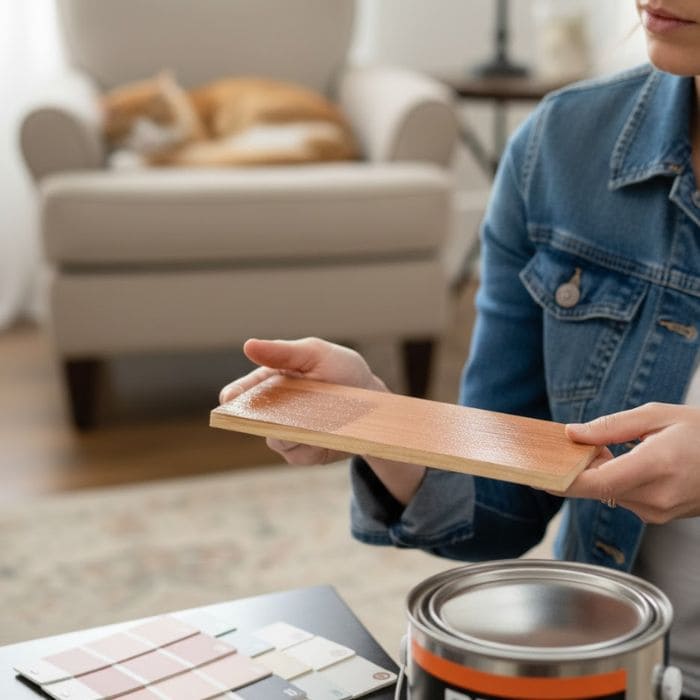
Because outdoor stain colors can look completely different in cold daylight than they do under store lighting, I did a test, but I did it in a way that made sense for winter.
Instead of staining the porch immediately, I brought home a small scrap piece of similar wood and tested the color on that, letting it dry indoors where the temperature is stable, because I wanted to see the tone honestly before committing.
That test is where I confirmed what I already suspected: I needed a warm, medium tone with a little softness, not anything too dark, because dark stains look dramatic for one day and then start showing every speck of dust and every paw print.
The Plan for the Actual Stain Day, When the Weather Cooperates
When Boston gives me a mild window, I’m doing this in a calm, logical order so it looks clean instead of rushed.
I’ll start early in the day so I have plenty of daylight, and I’ll stain in sections, working with the grain, keeping a wet edge so I don’t get lap marks, and moving backward toward the steps so I do not trap myself on a freshly stained island like a cartoon.
I’m using a brush for edges and corners, then a stain pad for the boards, because pads lay stain evenly without flooding the grooves, and the grooves are where stain likes to pool and dry darker than you intended.
I’m also setting a simple rule for myself: I’m not staining on a day with surprise rain in the forecast, and I’m not staining if the temperature is too low for the product, because manufacturers set those temperature ranges for a reason, and I do not want a tacky, uneven finish that never cures properly.
Small Tips That Make a Porch Stain Job Look Intentional
The best porch results come from details that feel almost boring while you’re doing them, because boring is usually what makes it last.
I’m going to tape off the edges near trim so I don’t end up with accidental stain smudges that make the whole porch look messy, and I’m going to stir the stain often while I work so the color stays consistent from the first board to the last, because pigment settles and you can see it when it does.
I’m also keeping my flower pots off the porch longer than I want to, because the temptation is to put everything back as soon as it feels dry to the touch, but dry to the touch is not the same as ready for heavy objects, and a water ring from a pot is a very discouraging way to celebrate a finished project.
And my most practical tip, the one I say with love, is that my dog will not be part of the drying process, because he is convinced every fresh surface is meant to be walked across, and I would like to keep the paw-print signature off my porch if possible.